I’m finally at the point of having my very own compost bin!
It might sound a bit funny, but I’ve been wanting my own compost bin for years. I love the idea of taking waste and putting it to good use – to create organic, high-quality soil that will help me grow nutrient-rich food. It’s like recycling… but for vegetables!
Before starting a compost bin, I asked myself three questions:
- Where should I put a compost bin?
- What shall I put in my compost?
- How long does it take to make compost?
To answer these questions, I watched videos, read online articles, and even read through the composting section of the RHS book I bought Shem for his birthday – How to Garden: When you’re new to gardening. Here’s what I’ve learnt while preparing to start a compost bin from scratch.
Where should I put a compost bin?
When deciding where to put our compost bin, we wanted it close to our soon-to-be veg patch and somewhere easily accessible.
My research pointed to two other helpful considerations: placing the bin at the top of a slope for better drainage, and choosing a spot that gets some sunlight (to help the bin warm up) without giving up precious growing space.
There is a range of bins to choose from when making compost. The main ones being:
- Circular plastic ones – cost-effective and great for small spaces
- Larger wooden ones – environmentally friendly, but more expensive
- DIY options – in his Simple Guide to Composting video, Huw Richards offers a very simple homemade compost bin using pallets
The house we bought came with a compost bin already in the garden, and it seems to be in good condition. It’s one of the standard stationary plastic ones. Ideally, I’d love to build a wooden bin one day, but for now – given our limited space and my dislike of waste – the plastic bin wins.
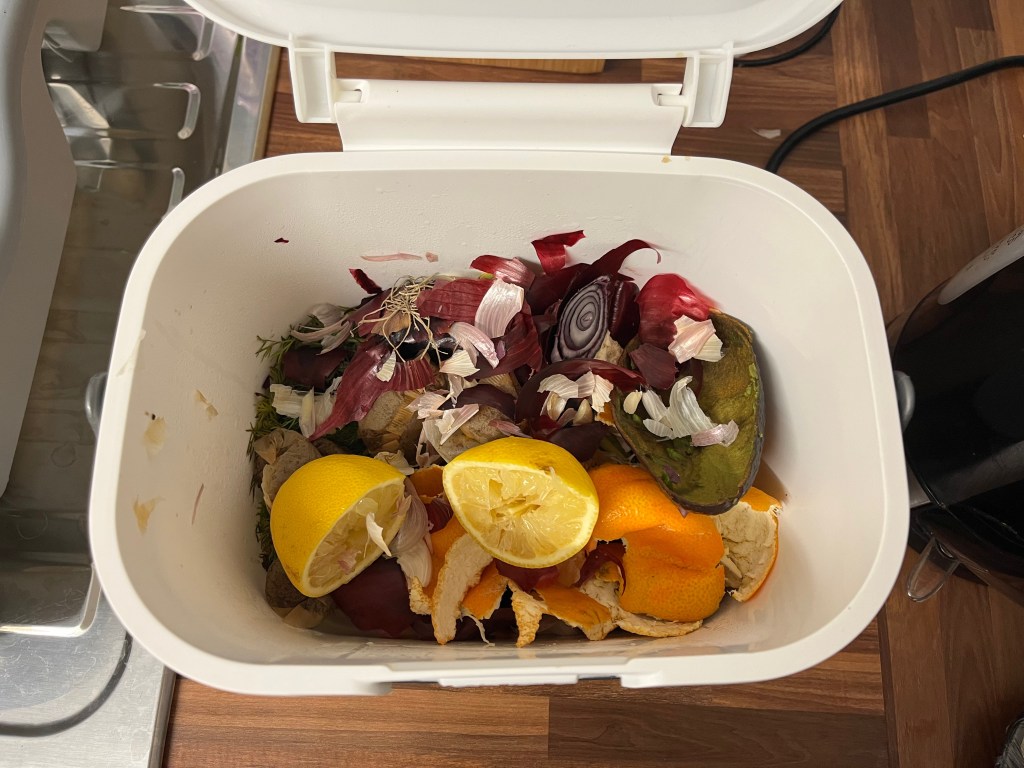
What shall I put in my compost?
The key thing when thinking about ingredients for compost is that you have your greens and browns. The greens heat up the heap, which is key for making compost, and the browns help reduce bad odours, prevent pests and stop the compost from becoming too slimy.
But once you know the “greens” and “browns” rule, composting suddenly feels much simpler.
Greens are fresh materials and release nitrogen – so this would be your veg waste, grass clippings, coffee granules, or even animal manure.
Browns are dry materials full of carbon – such as cardboard, leaves, paper, sawdust.
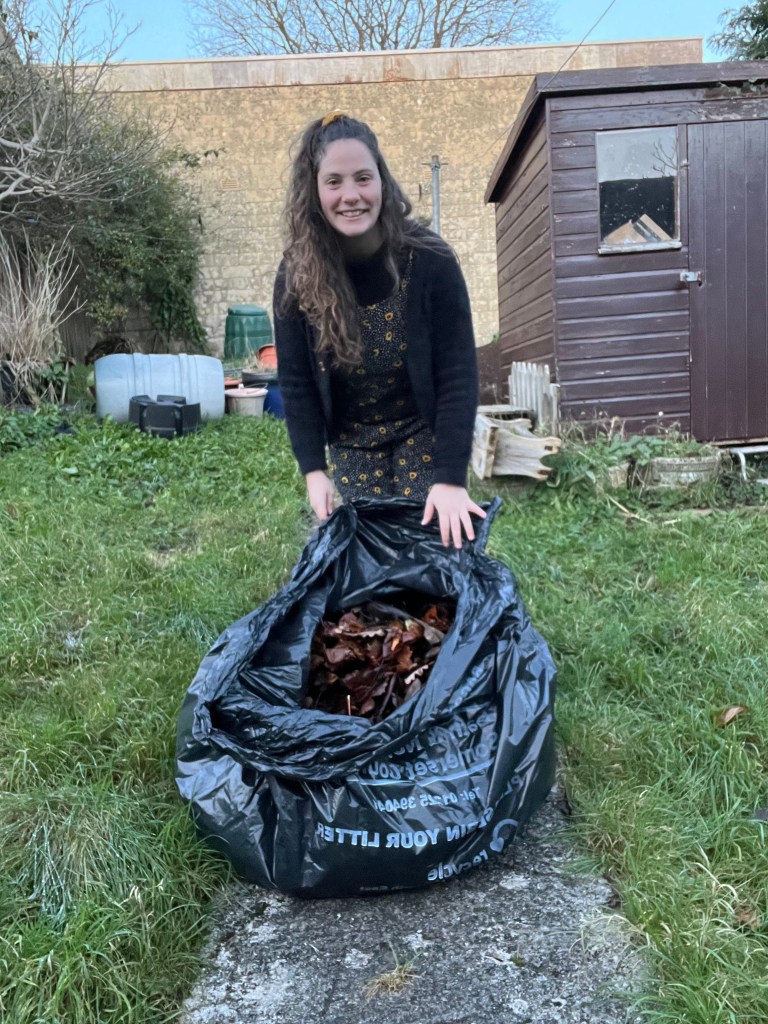
As it’s autumn, I had planned to go and gather lots of leaves from a street down the road from me. By happy coincidence, on the day I planned my leaf-collecting mission, I walked straight into two council workers clearing the exact path I had in mind. At first I kicked myself for not going sooner… and then I realised they were actually saving me a job. So I asked if I could have a bag of leaves -and they very kindly agreed!
When thinking about what not to put in your compost, Better Homes and Gardens has put together a very helpful list.
Now there seems to be some conflicting information about the ratio of how much of each you put in. In the video mentioned earlier, Huw Richards suggested a browns-to-greens ratio of 2:1. However, in GrowVeg’s video, The Ultimate Compost Masterclass with Charles Dowding, it’s recommended to use three parts green and one part brown.
Two very conflicting pieces of information there!
So I sought help from other articles too. Although some more mixed views, there seems to be a lot of people suggesting a browns-to-greens ratio of 3:1 – including The Spruce and RHS.
My granny recommended Huw Richards so I’m going to take his advice and start with a browns-to-greens ratio of 2:1. Furthermore, because it’s winter, not having too many browns will mean that the compost heap will heat up more.
How long does it take to make compost?
Most sources say compost takes around 12 months to mature. Turning the heap once or twice a month can speed things up by adding oxygen and mixing the materials.
Either way, monitoring the heap seems beneficial. The ratio might need adjusting depending on the weather, the smell, and how warm the heap feels – if it isn’t heating up much, adding extra greens (nitrogen-rich material) can help.
Overall, it looks like this compost won’t be ready for spring when I plan to start my planting. But it will be great mulch to add to my (hopefully thriving) veg patches at the end of next summer. How exciting!
______________
Learning about the process of compost has put things into perspective for me. Gardening is a slow process. You put in time and effort long before you see any results. But it’s so exciting to be starting our garden and to be sharing our learning and progress with you all.
If you’ve started composting yourself – or if you’re miles ahead of me and already have a thriving heap – I’d love to hear what you’ve learned along the way. What’s worked for you? What mistakes did you make early on?
And if you’re also a clueless-but-keen beginner like me, feel free to follow along as I muddle my way through this gardening adventure. Here’s to slow, steady progress and soil that’s (eventually!) worth the wait…
