Well, well, well, what an exciting update I have in store for you!
But first, I must apologise. I’m becoming a bit more unreliable with updating this blog… I’m going to aim to do monthly updates because that seems a little more manageable. I have, however, set up an Instagram where I’m sharing more regular updates, mostly in the form of videos.
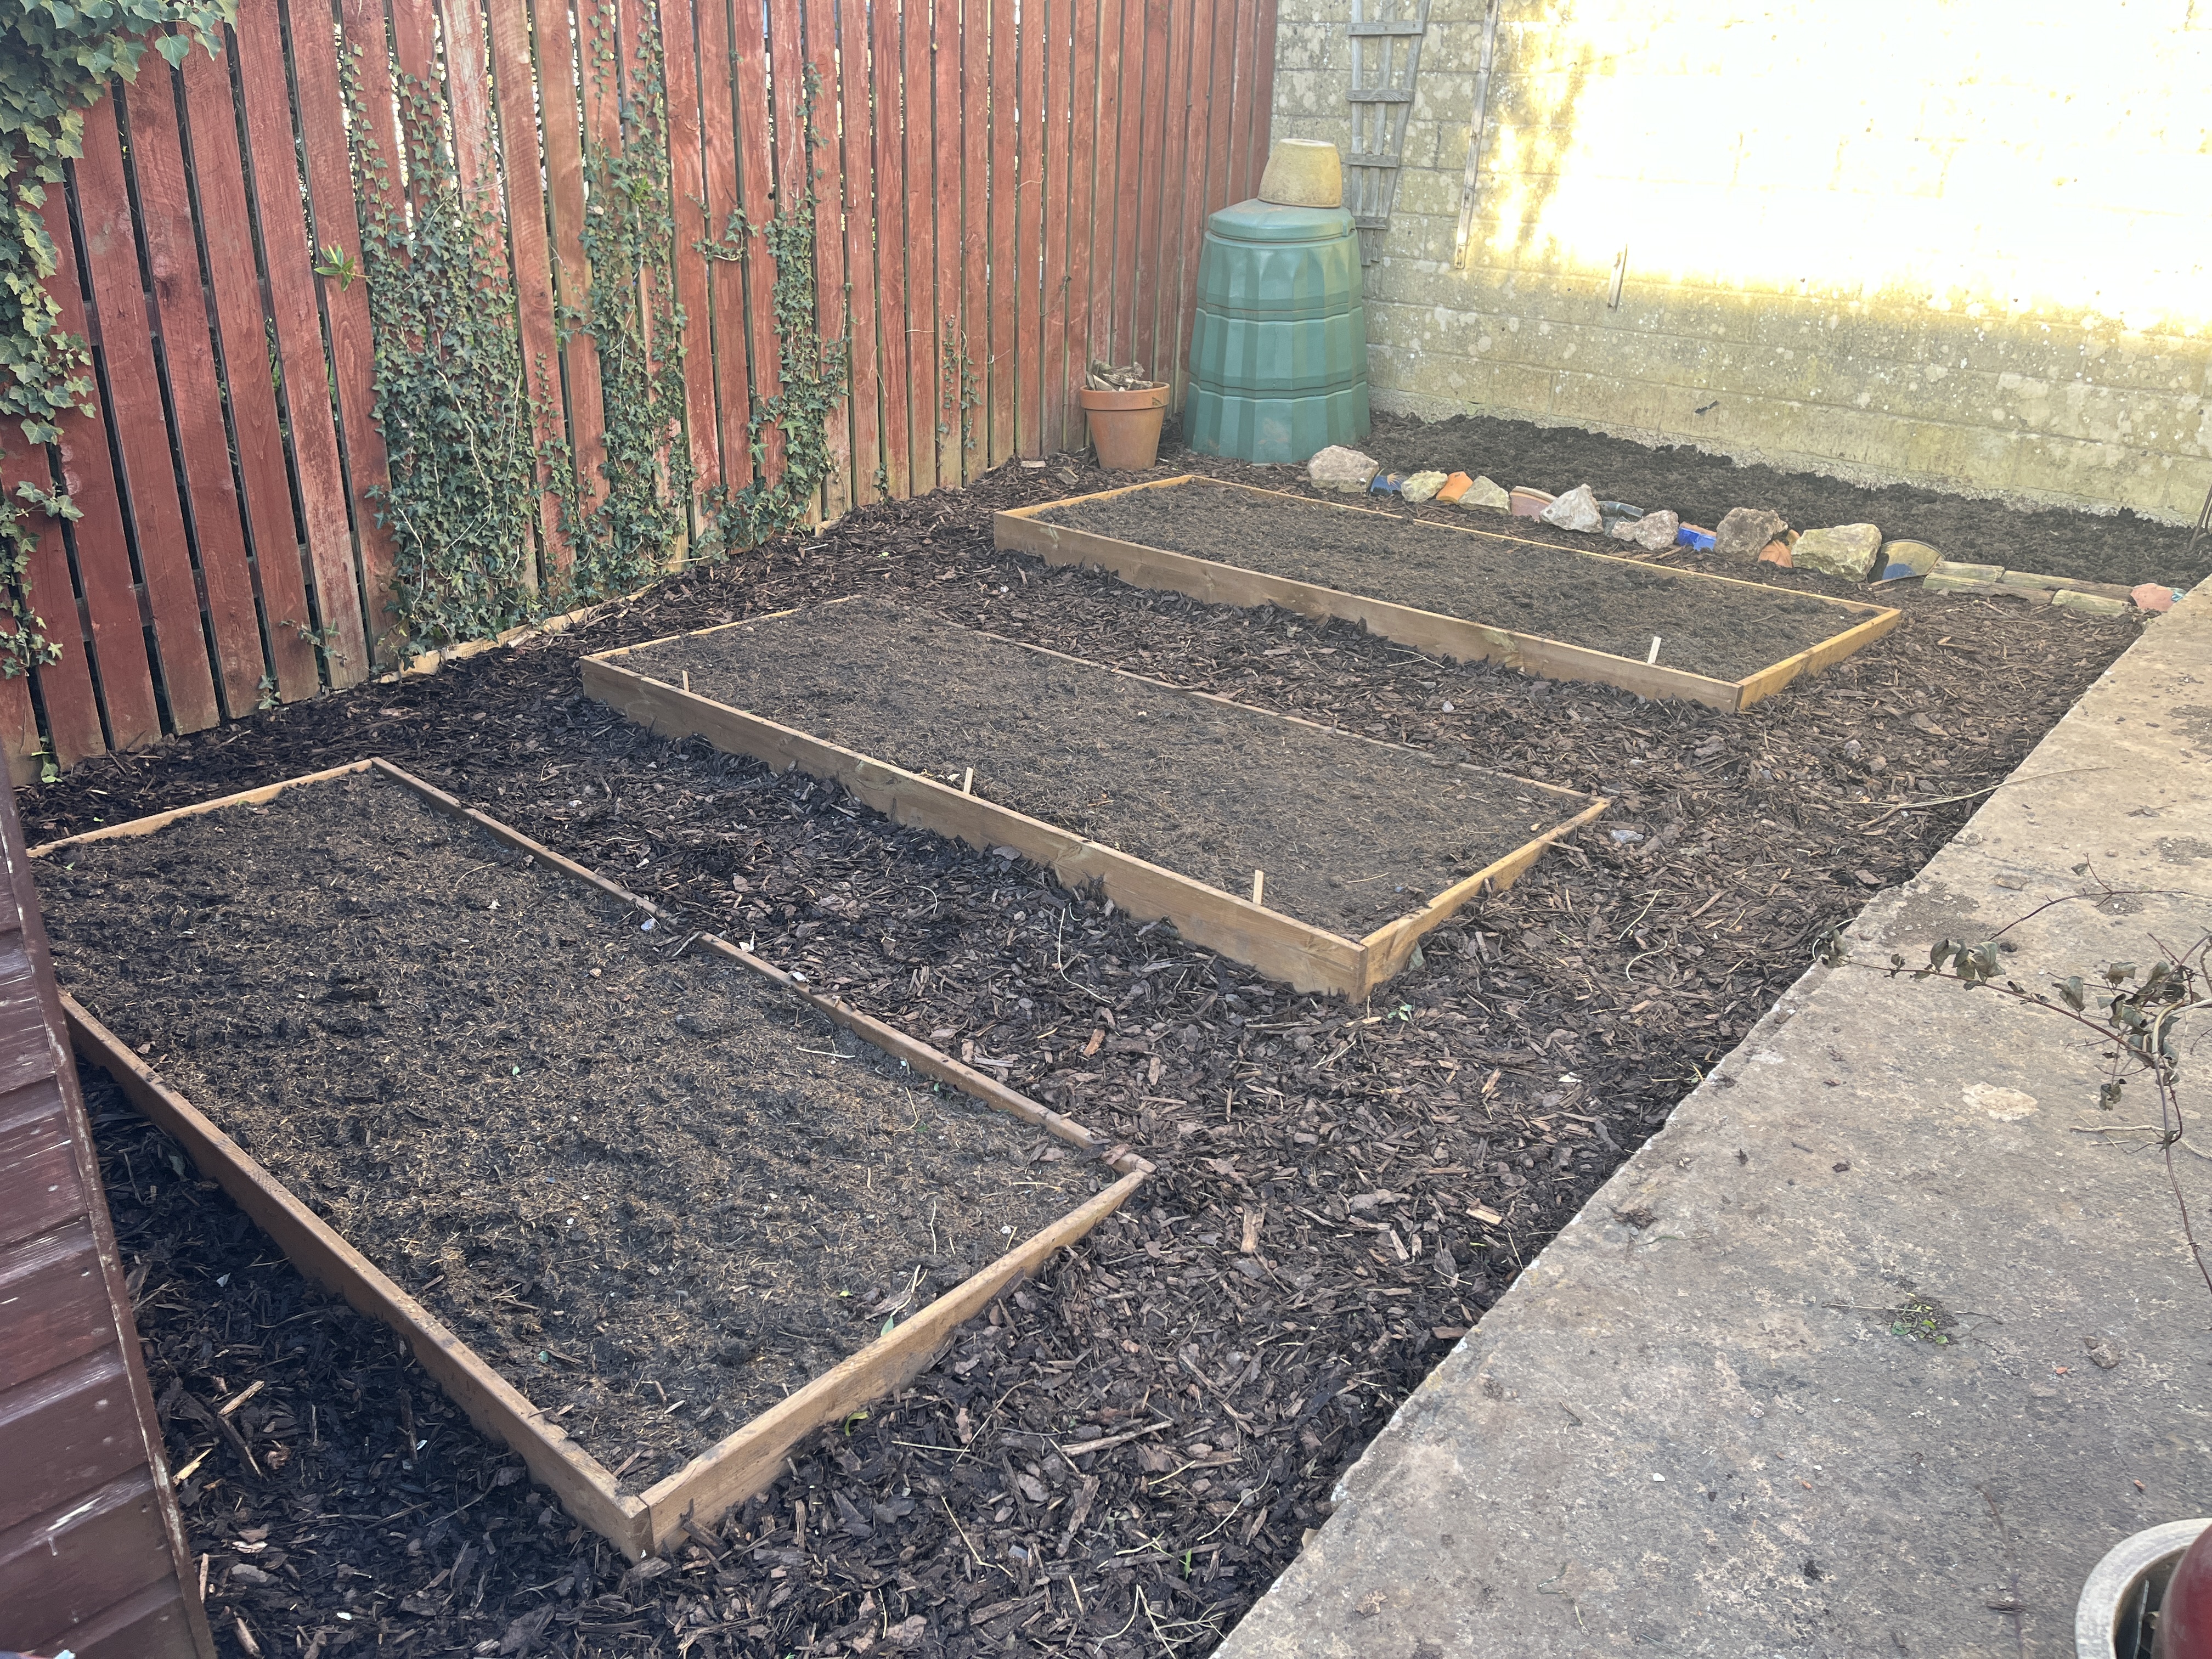
So, where are we now? I think I last left off sharing the excitement of installing veg boxes in our garden – oh, how much further we have now come. Since this time, we have:
- Filled the veg boxes with prepared soil
- Added a bark chipping path around our veg boxes
- Started planting vegetables!
So I’ll give a brief update on each, and then share some photo updates.
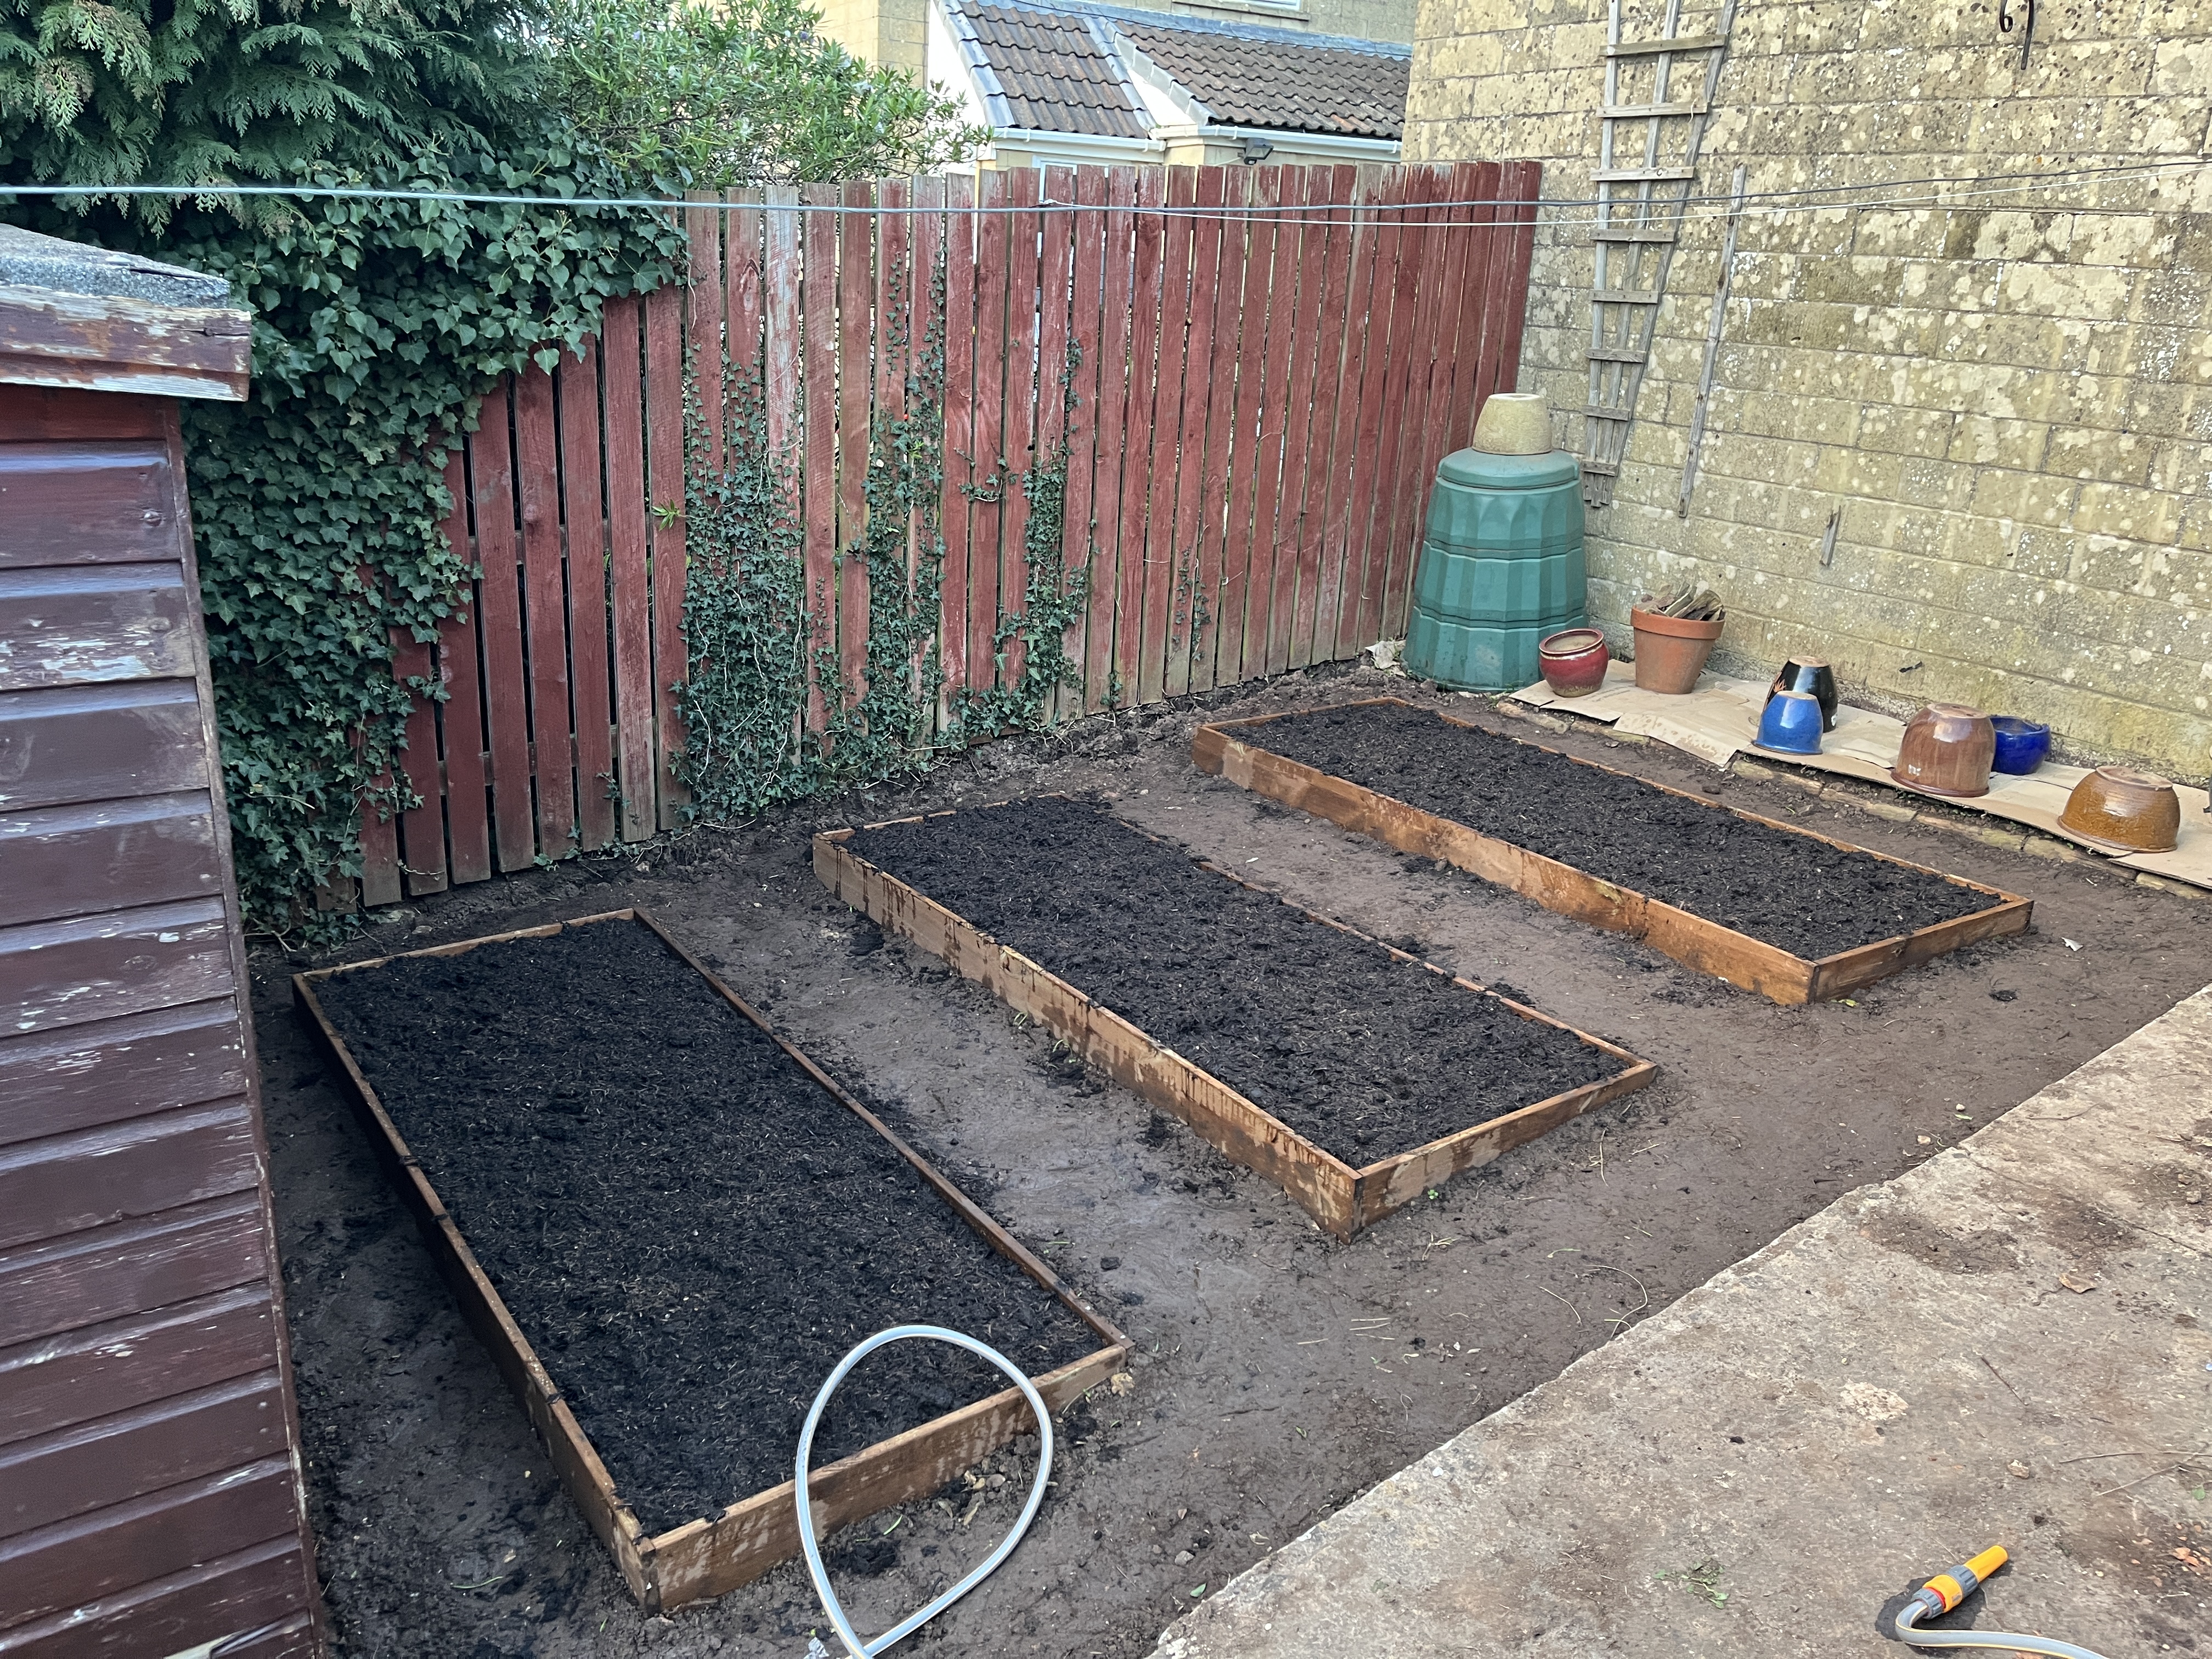
Filling veg boxes with prepared soil
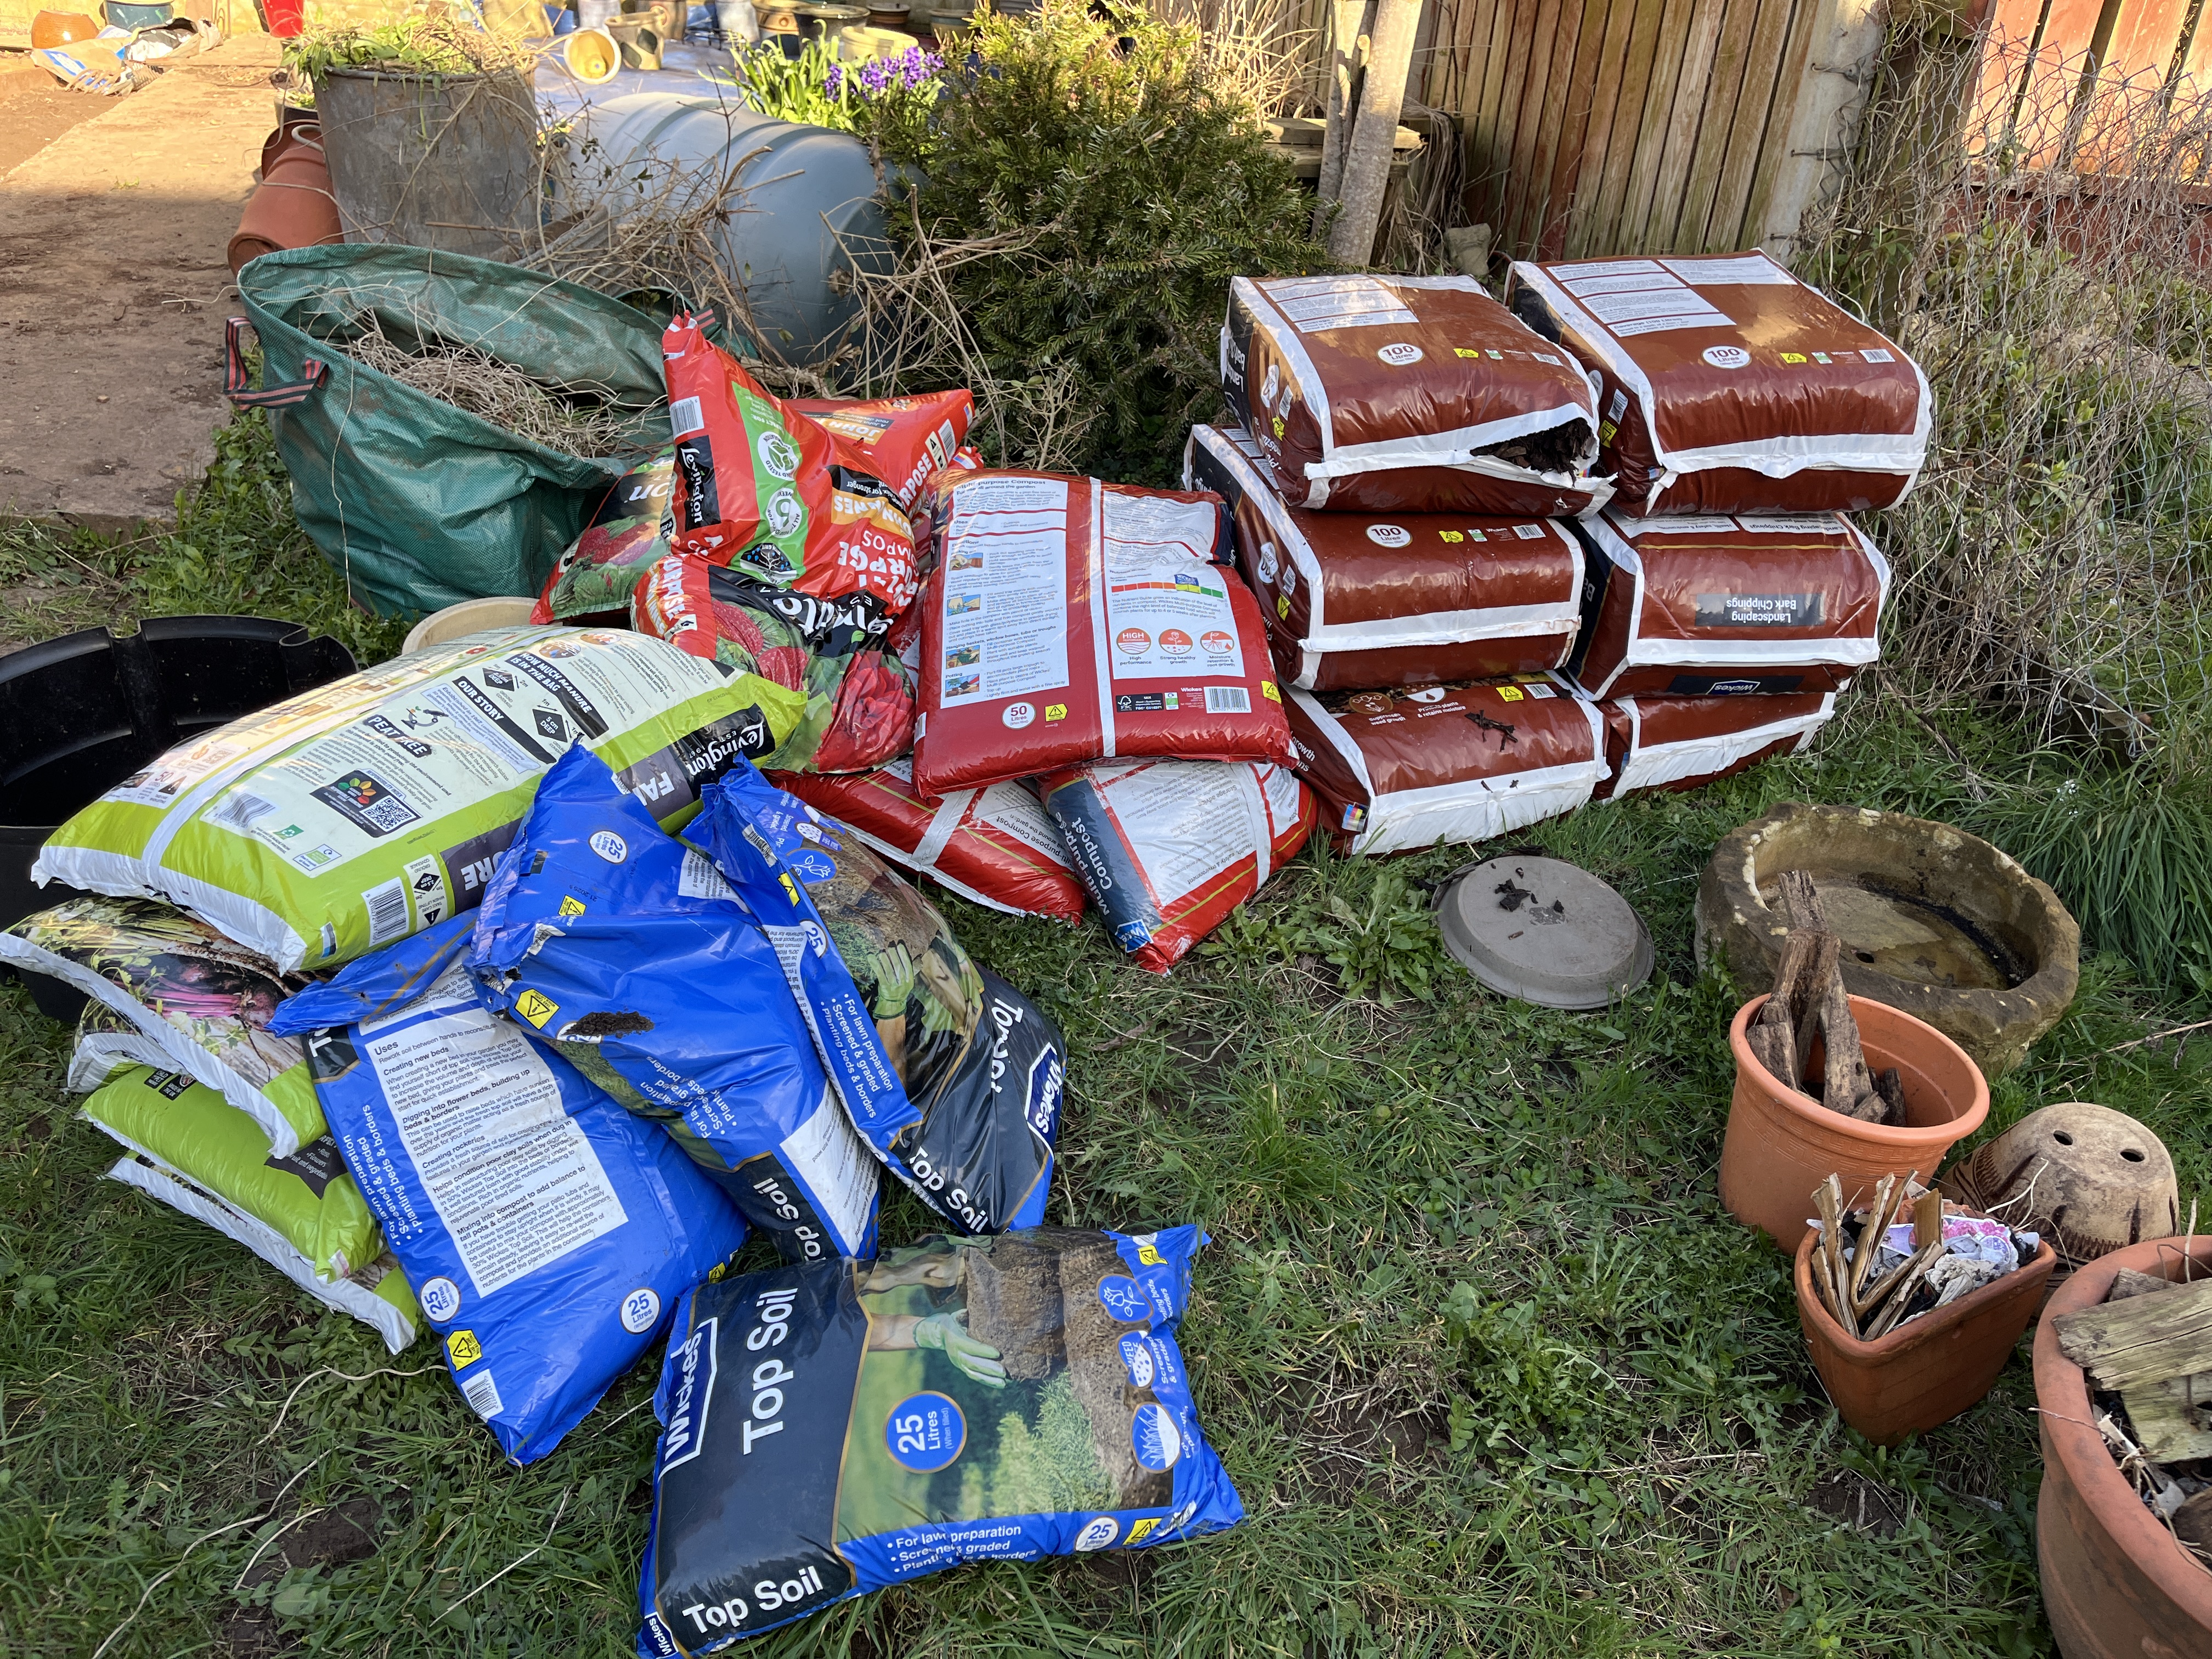
Ingredients list for three 2.4m x 0.8m veg boxes:
- 5 x 50l bags of well-rotted manure
- Chicken manure pellets (3-4 handfuls per veg box)
- 9 x 50l bags of multi-purpose compost
- Lots of water
A lady at church gave some really helpful instruction for preparing the soil for our veg boxes, and also gave us a couple of bags of turf (enough for about one and a half of our veg boxes). Laying the turf upside down means that the grass won’t grow into the veg but it will be good for feeding the soil and retaining moisture.
I was going to write a little step-by-step of how I laid it, but it would have been rather repetitive! Essentially, after laying the turf, I added each layer in the order of the ingredients list, and then gave it plenty of water – and voila!
Anyway, here’s the little video I made of the process on Instagram:
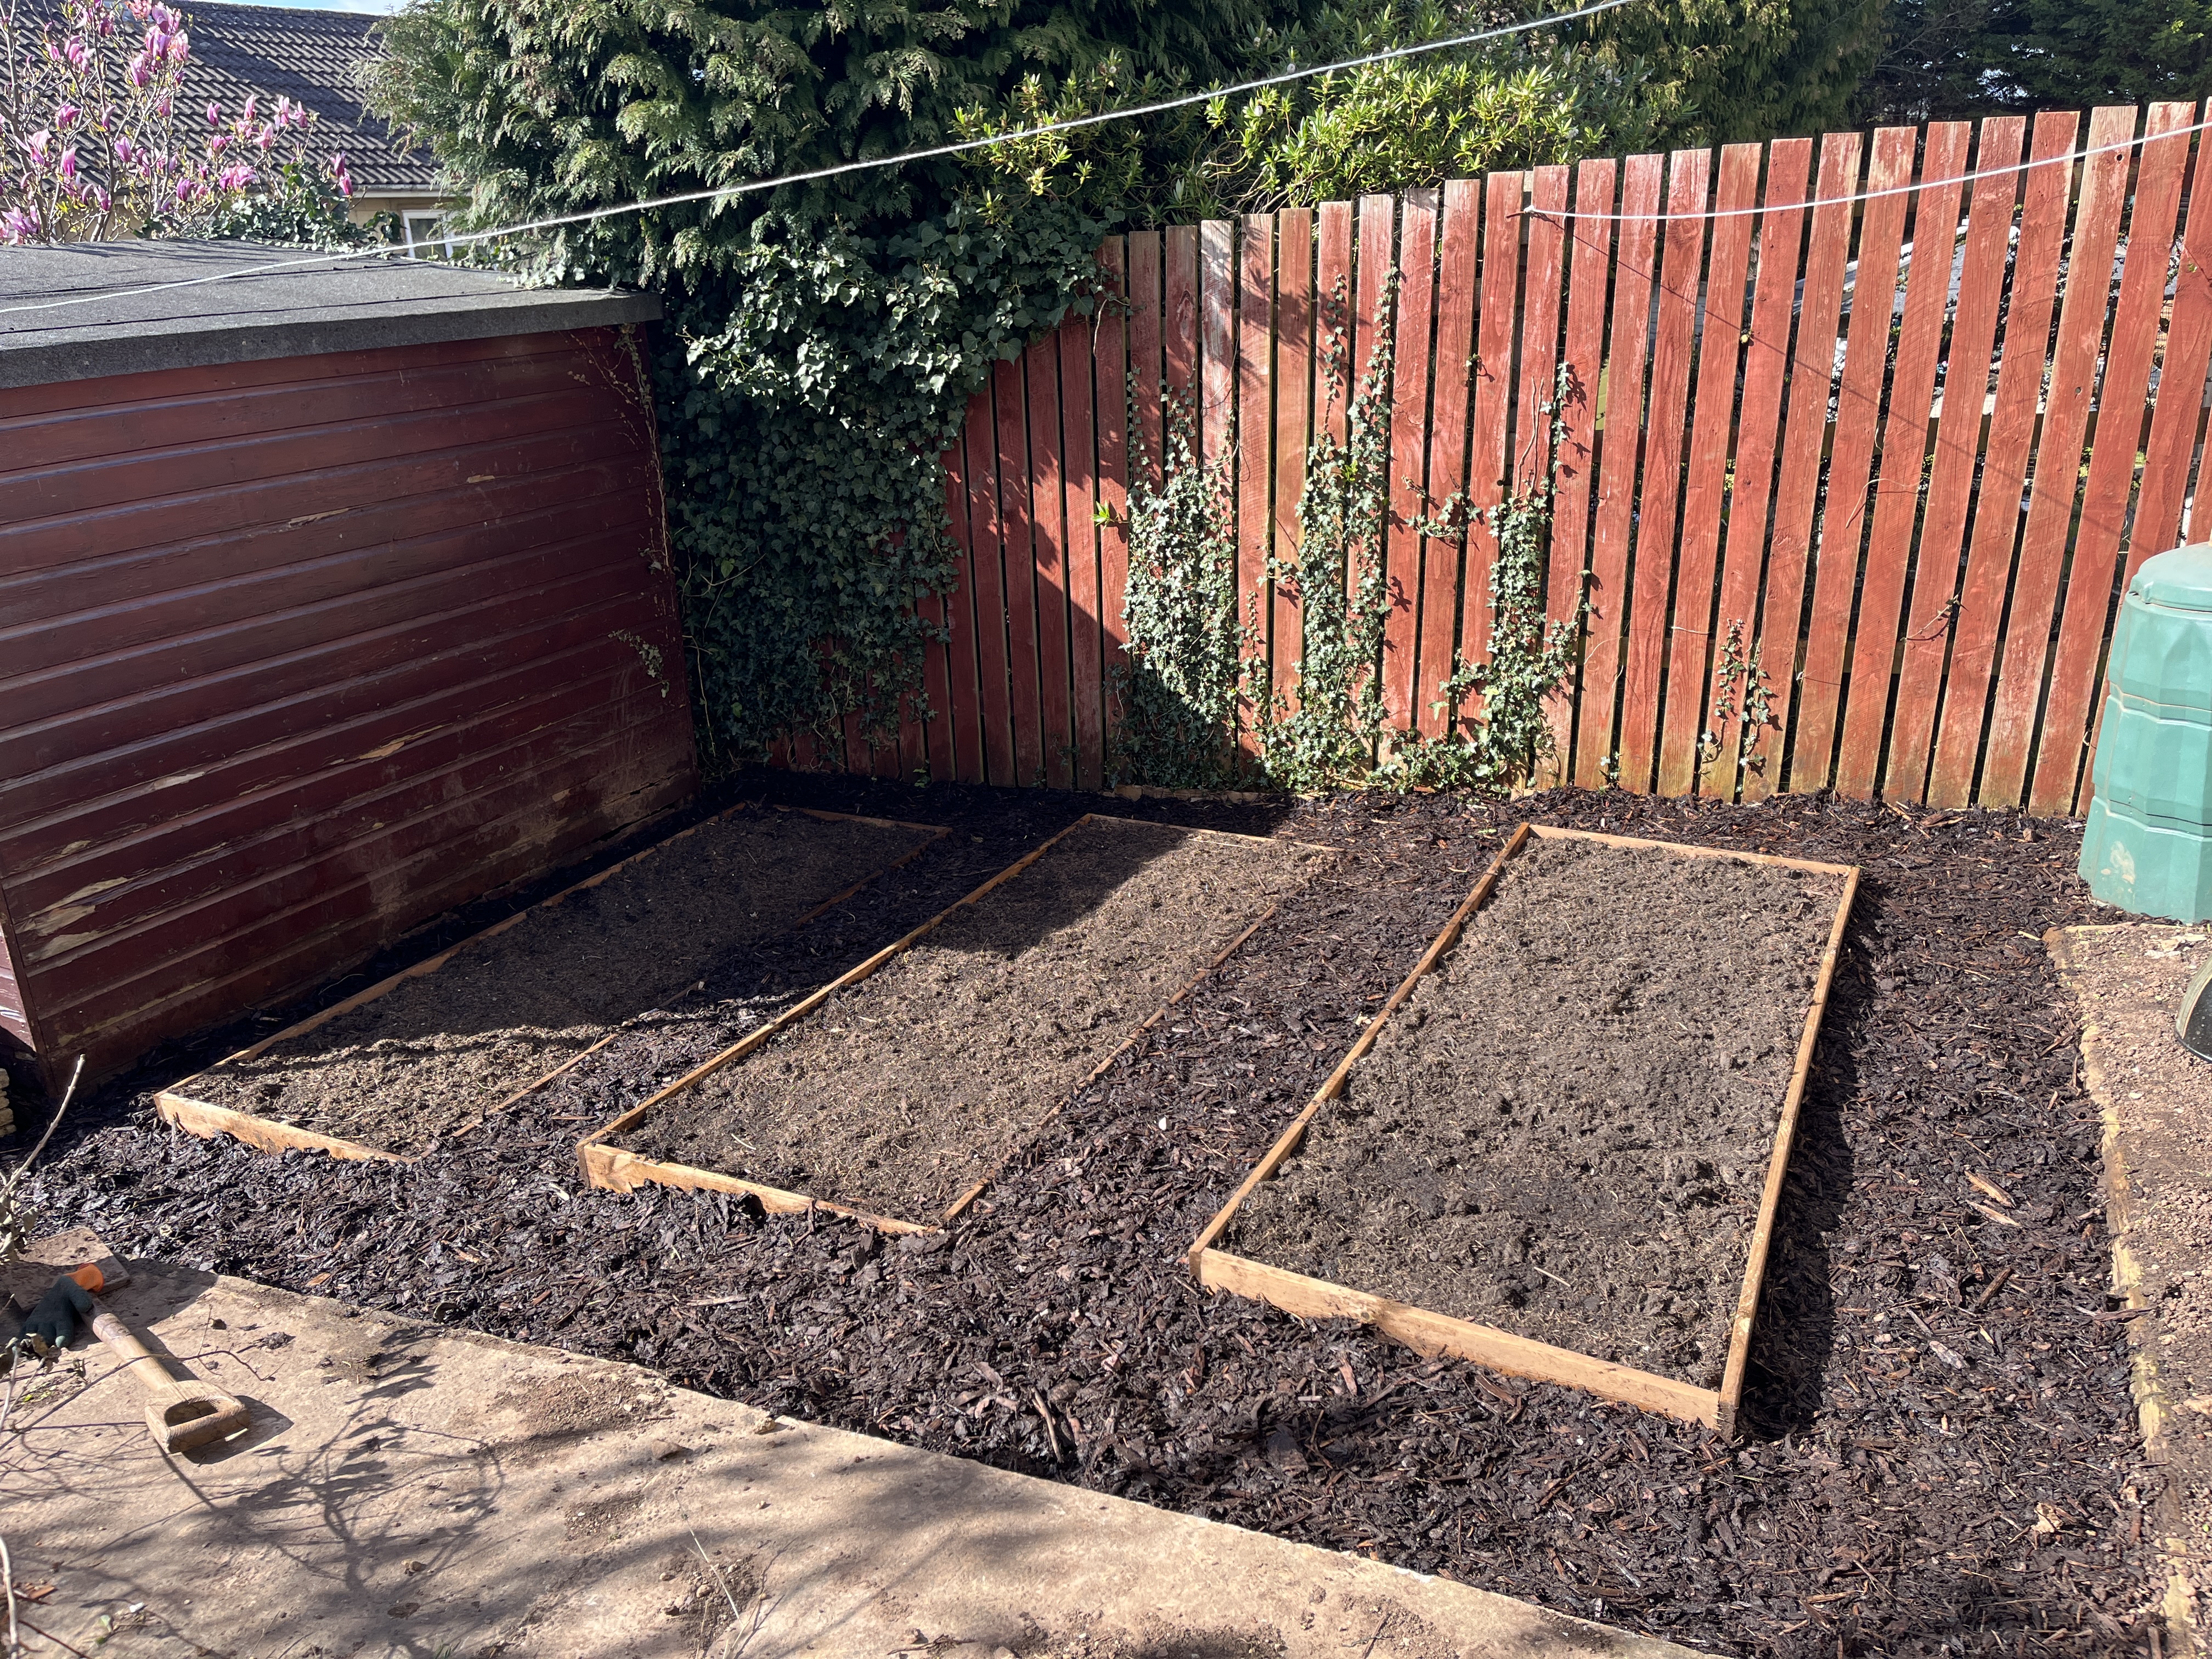
Adding a bark chipping path around our veg boxes
Not only is this path aesthetically pleasing, the hope is that it will keep weeds away too. Plus, bark chipping is good for paths because it breaks down and feeds back into the ground, promoting good soil health. However, I think it will need topping up every couple of years.
We’ve also done this plastic free. Rather than putting a plastic weed membrane beneath, we put a couple of layers of cardboard to try to block any lingering weeds. Again, using cardboard instead is supposed to be great for soil health as it decomposes and goes back into the ground.
We used 5 and a half 100l bags of bark chipping. The leftover chippings were great to use as mulch when planting our hydrangea into the ground.
(Finally) planting vegetables!
Very, very exciting indeed – we actually have vegetables planted. Well, bulbs and seeds of vegetables anyway. At the moment, we have them in three different places – in the ground, in containers, and in seeds trays germinating indoors.
In the ground:
In veg box one, we currently have beetroot seeds planted and awaiting germination. We have two rows of these, planted 30cm apart. We will also be putting courgettes and sunflowers in this box.
In veg box two, we’ve planted red onion, brown onion and garlic bulbs. There are three rows of each, and I left 20cm in between each row of onions, and 25cm in between the rows of garlic.
In veg box three (our least sunny plot), there are two rows each of lettuce and spinach, planted 25cm apart, and one row of radishes, also 25cm from the spinach. There will also be kale in this box.
In containers:
We have three 30l containers. Two of these have potatoes in and one has carrots in. Potatoes are supposed to grow well in containers – I can’t actually remember why, but Shem and I watched a load of gardening videos a few months ago and this was one of my key takeaways from it!
Planting the potatoes in this way does come with an interesting set of instructions, and we’ll need to keep adding soil over time. Initially, I started with 3-4 inches of soil, put 3-4 potato seedlings into the containers, as spaced out as possible, and then added another 3-4 inches of soil. As the plants grow to approximately 10cm, I’ll need to add more soil to the tips of the new plants, and keep repeating the process until I reach the top of the container.
I also thought it would be a good idea to grow the carrots in a container too because the soil in our beds is actually quite shallow, just 15cm above the cardboard we laid down. I thought growing carrots in these conditions may result in a rather short produce.
However, carrots are supposed to be sown in rows 30cm apart and the containers are only about this size in diameter. I’ve tried an interesting method with these – I actually sowed the seeds in the shape of a cross. I’ll let you know how this goes because I have no idea if this was a stupid thing to do!
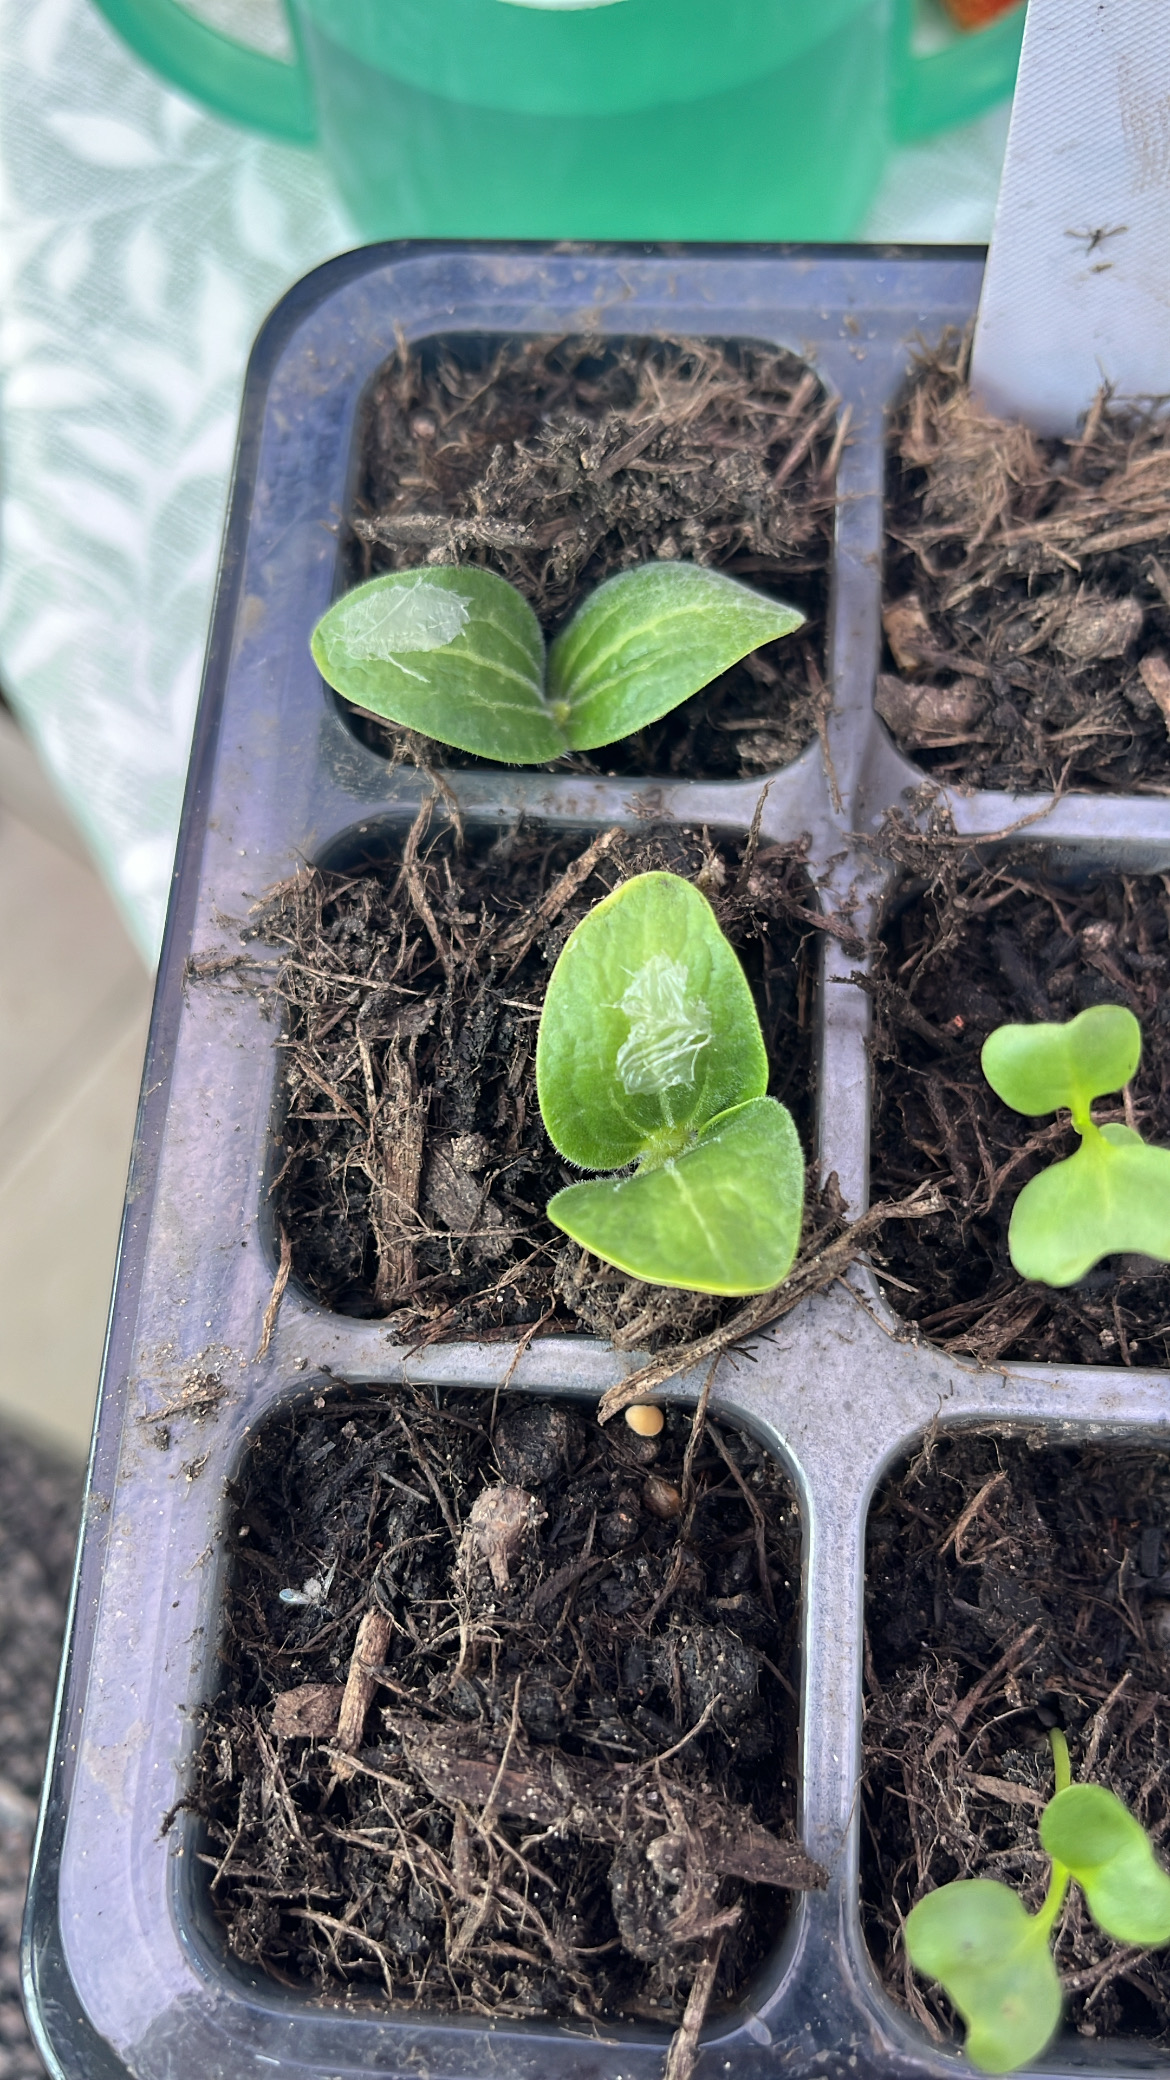
In seed trays indoors:
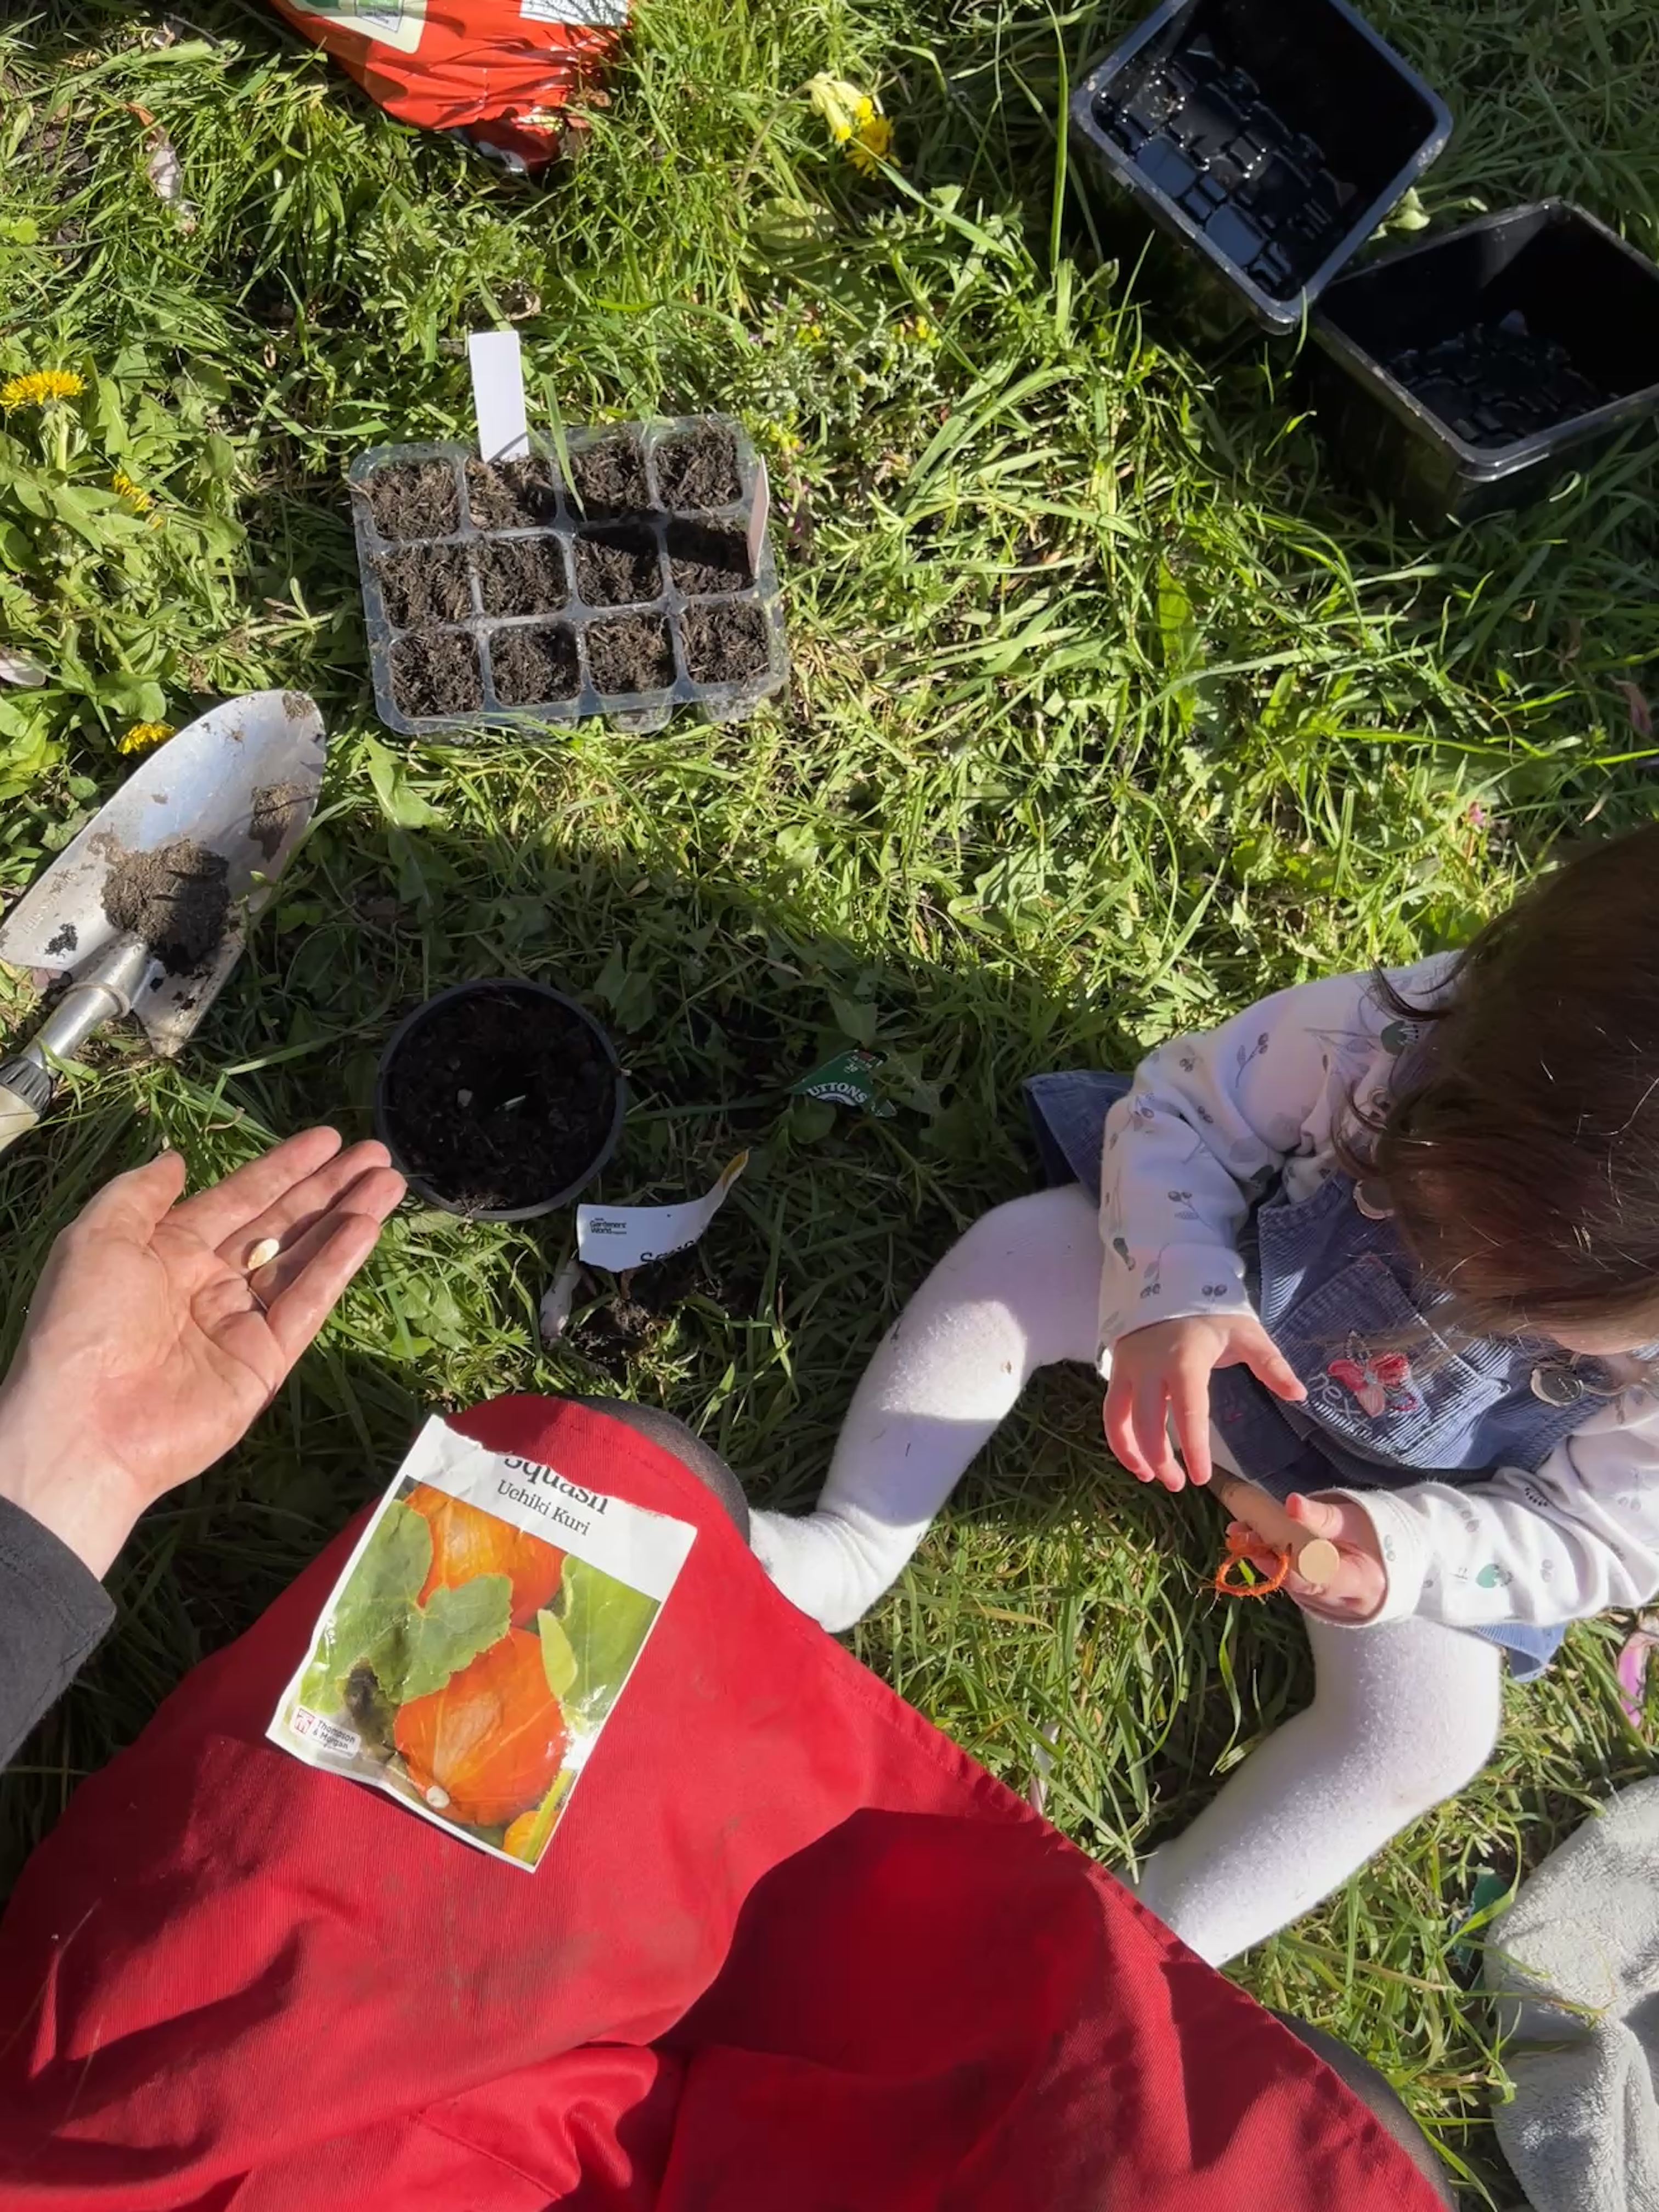
And finally, we have a few seeds starting off indoors. In eight compartments of a seed tray, there are kale seedlings growing and in the other four compartments, courgette seeds are germinating – in fact, two of the seedlings broke through the soil this morning! I’ve only sown four courgette seeds as they take up quite a bit of space, and realistically we only have room for a couple of plants.
In four 9cm pots, we have squash seeds germinating. When preparing to sow, the research I did suggested it was better to sow squash in larger pots rather than the smaller seed tray compartments. Nothing has come through the soil yet though, so we shall have to see!
Anyway, there we have it! This month’s garden update. I feel like I whizzed through quite a lot there, but honestly, I’d rather be out in the garden than writing about it!
If you ever have questions, feel free to comment below, I’d be very happy to give more detail. And if you’re on Instagram, give my gardening page a follow – you’ll get a lot more frequent updates on there!
Also, how is your spring gardening going? Feel free to share how your garden is looking, and what you’re growing!
What a transformation, hey?

Follow my gardening journey…
If you’re a fellow beginner, a curious onlooker, or someone who just enjoys watching seeds (hopefully) turn into food – you can subscribe below and join me on this gardening adventure.
